
For flat or moderate terrain, a gear sled is an excellent way to haul in gear. Here’s how to build a simple gear sled without breaking the bank.

When going on hut trips or backcountry winter camping, a gear sled (also known as a pulk) is an excellent way to haul in gear on flat or moderate terrain while on skis or snowshoes. Winter gear and clothing are heavier and on hut trips. I’ve also been known to pack in a LOT of goodies (food and wine!).
In the past, when I took a significant other on a trip, somehow I always find I am carrying more for some odd reason, too. 🙂 Rather than schlep it all on my back, it is easier to haul it in via sled.
You can buy commercially made gear sleds that are very well made but are on the expensive side.
Unless you plan on doing some serious expeditions (skiing the Antarctic anyone?) a simple gear sled is just fine for most purposes.
The use of my sled is to simply make life easier for me when I schlep in copious amounts of food and wine! 😀
Please note that gear sleds have limitations. They don’t work well on steep terrain. Even on moderate terrain, the gear sled needs to be used with a little caution. They tend to be easier to use on snowshoes than skis overall for most.
Having said that, here are my instructions for making a dirt bagger gear sled.
This gear sled costs approx $50 to make if you are buying all the material at once.
However, If you are like most outdoors people, you already have some of the materials on hand (bungee cords, rope, tarp, ‘biners) so the purchase cost may be just the sled and PVC pipe…or perhaps $25.
MATERIALS
- Children’s plastic sled(like the ones sold at Wally World, Target or your local hardware store).
- For a little more money, something along the lines of a JetSled or similar will work better.
- The children’s sled works best on flat and wide terrain. A wood sled is more forgiving of tighter areas and is more durable as well.
- Protip: The JetSled (wood sled) type is discounted come March or April at many hardware stores. Thanks to some reader comments, it is what I use now.
- (2) Five-foot sections of 1/2″ PVC pipe. Home Depot sells PVC pipe in 10′ lengths and will cut it in half for you
- (2) Six-foot lengths of cord
- (2) small ‘biners. The ‘biners you would use to attach a water bottle are not suggested. Climbing ‘biners are best if you have them available. But ones at the hardware store not rated for climbing, but can handle the weight, will be more than adequate.
- 5′ x 7′ tarp
- Large nylon gym bag (or two; see below)
- (3) One ft long bungee cords and (2) two-foot long bungee cords
STEPS
Basic sled construction
- Thread rope through each pipe.
- Attach rope and pipes to sled
- On the other end of rope tie on ‘biners

- You should have about 1″ of loose rope or less on end of the pipe with ‘biners when all is said and done.
- Voila! The basic sled is done.

Packing the gear
- Place tarp on sled
- Pack your gear in in the duffel bag as you would a regular pack regarding gear, stuff sacks, etc.
- Place duffel bag (or bags, a separate duffel for food and wine is not a bad idea) on tarp

- “Burrito wrap” the nylon gym bag(s)
- Take the (2) one-foot cords over the nylon bag(s) and attach on the top and bottom third of sled
- Form an “X” with the other two cords at each end of sled
- You may want to add an avalanche shovel at this time as well.

- Now cross the PVC pipes to form an “X” as well.
- In middle of the “X,” bungee cord the pipes together
- An “X” formation is more rigid and provides better control

Note: You can also use packs in place of duffel bags. I find gym bags pack easier for sled use. Naturally, packs allow more versatility. YMMV.
Why use a tarp? A tarp is useful for many purposes in the backcountry, tarp helps keep the snow out of the duffel bag and, if you have multiple bags, a tarp holds everything together quite nicely (esp if the sled wobbles or even tips).
Hauling the gear
- Attach ‘biners to pack just above the pack’s hip belt
- Try to have PVC pipe on each side of the body rather than just behind your body. More rigidity and control of the sled this way.
- Haul pack. 🙂

Same design but using the Jet Sled. I left one bungee cord at home; otherwise, the “burrito” would have been tighter!
Note: Some prefer a hip belt instead of using a pack. Since my ski pack has day use clothing and gear, find it is just as easy to attach the gear sled to my ski pack.
That’s it.
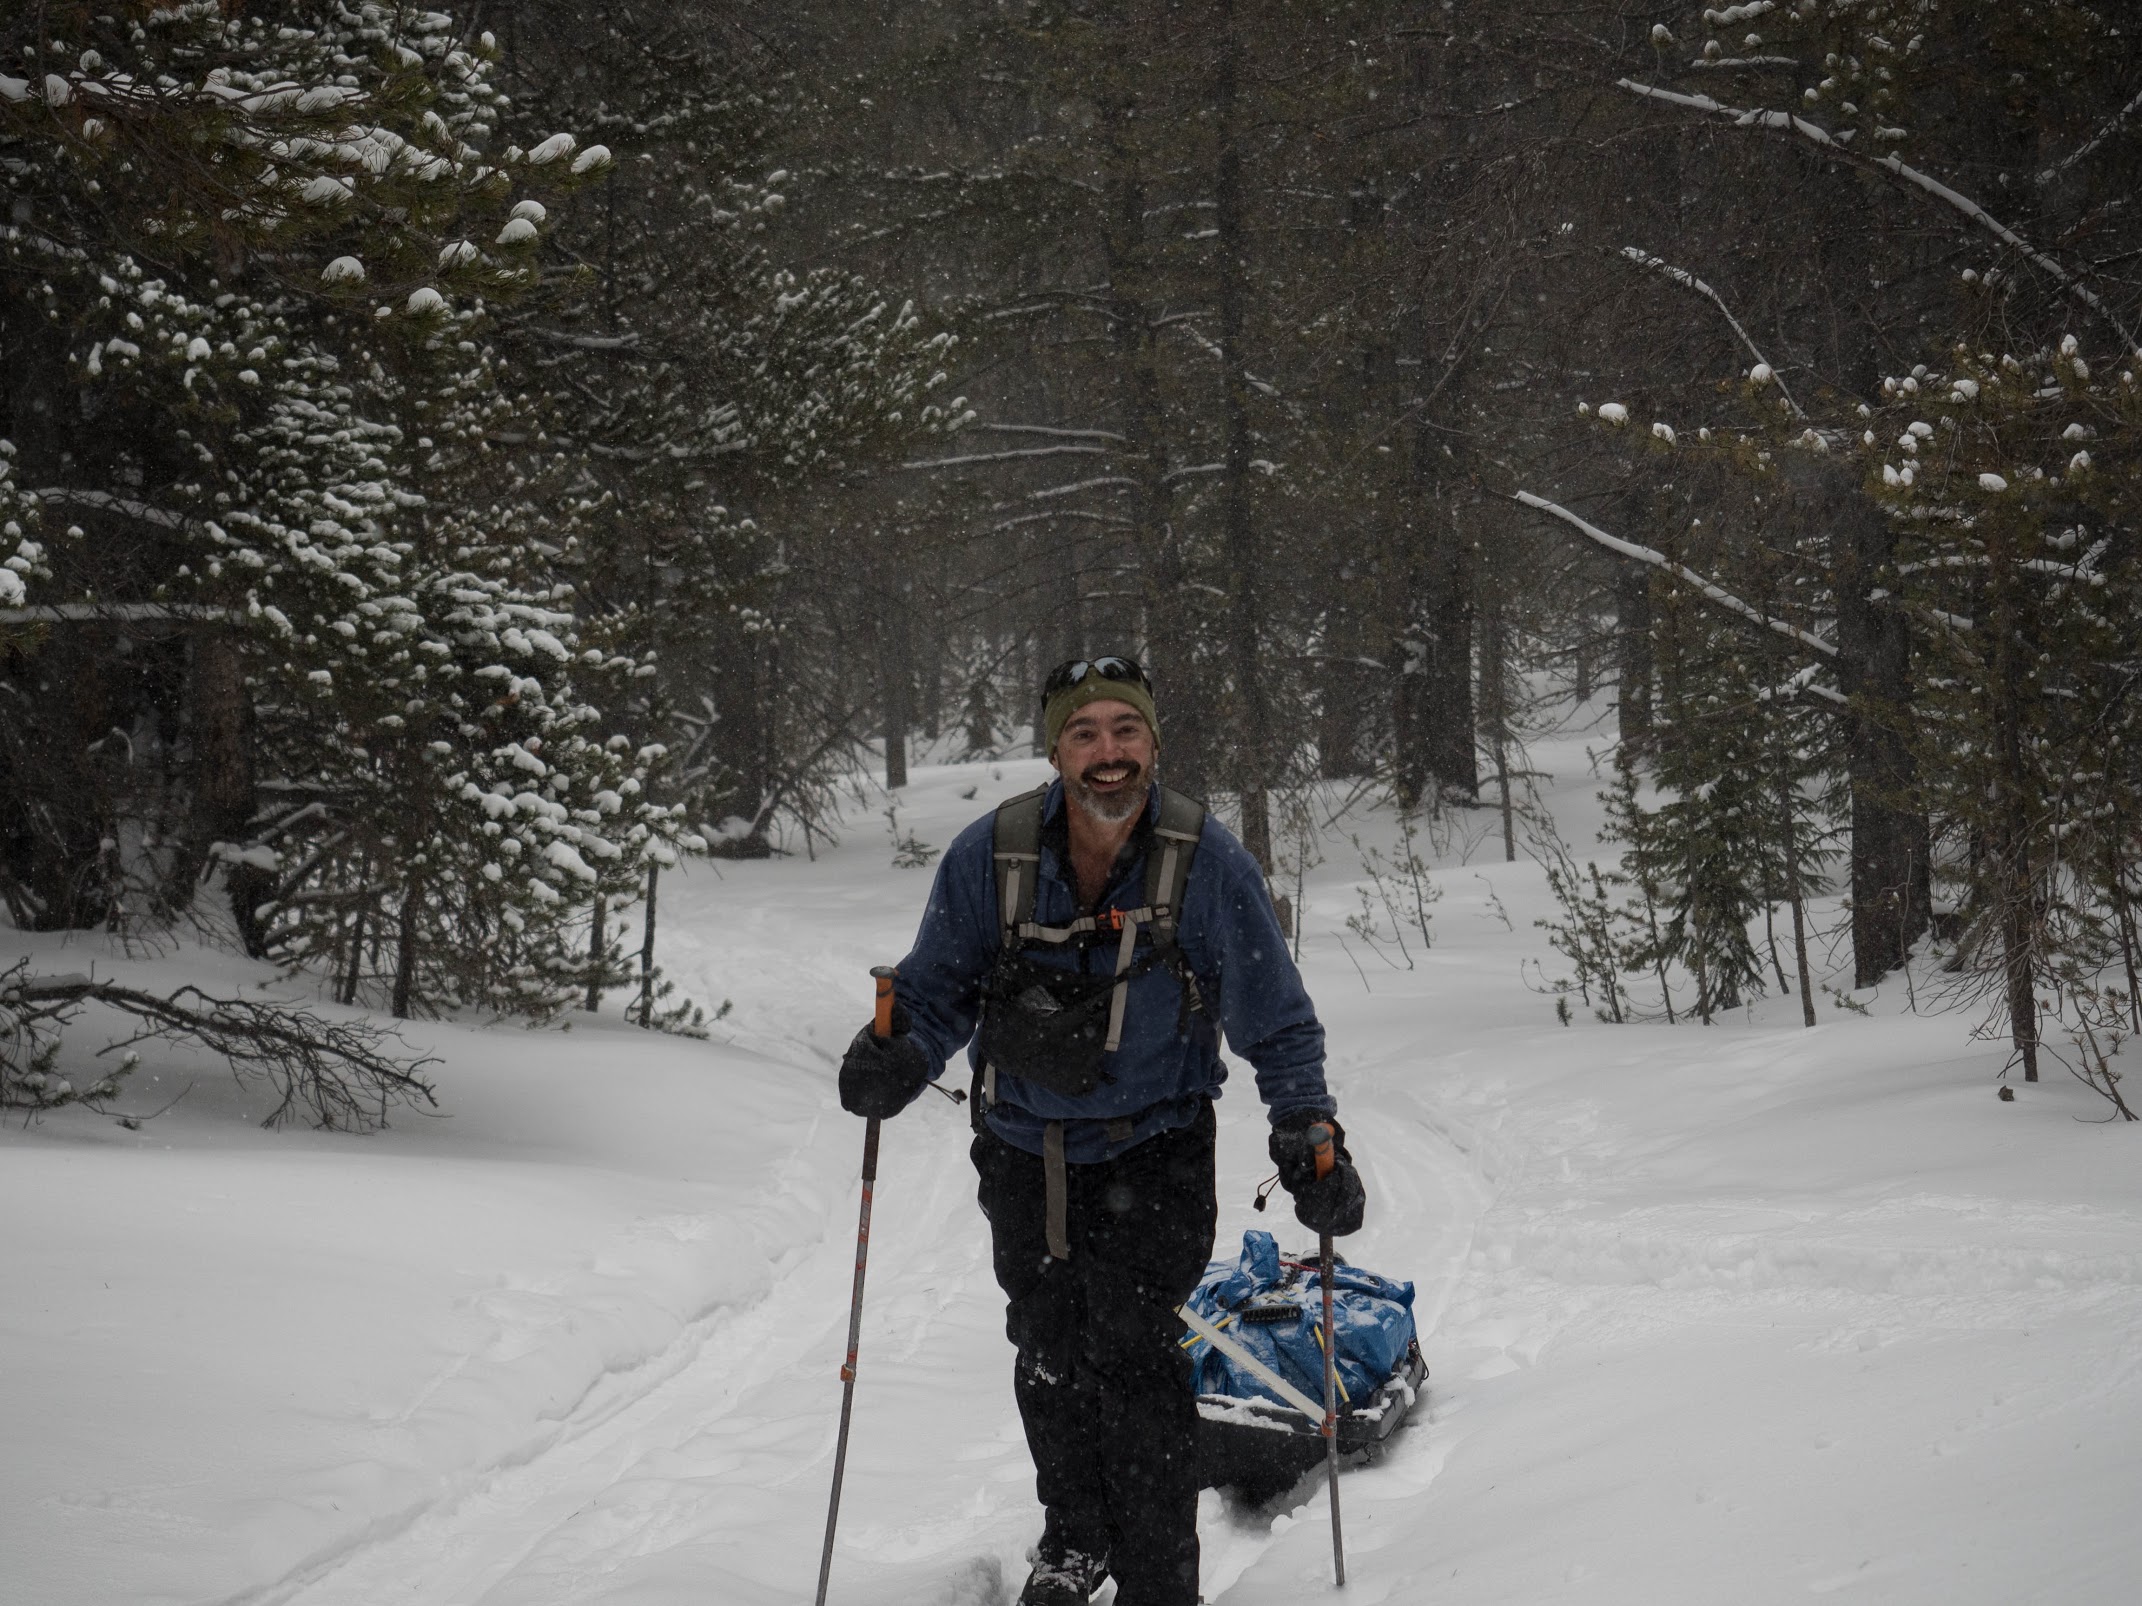
With the Jet Sled variation on the way to the 10th Mtn Division Hut. December 2017. PCO Anton S.
This simple gear sled may not see you through the Antarctic or Denali, but it works well enough, so a partner only has to haul in minimal gear. Happy Wife = Happy life as a good friend of mine said. 😉

Being serious (who? me??), this type of sled works best for any approach or descent that uses touring skis. If it is the type of approach/descent that is better served with AT / Tele gear or even wider Nordic skis on steep switchbacks, then the gear sled is probably more trouble than it is worth IMO. On the terrain that is suited for light touring gear, the gear sled is awesome.

The Section House via Boreas Pass Road is perfect for a gear sled
If you are a little more ambitious and have an enginerd bent, this link gives instructions on how to make a pulk a step up from mine, but still less expensive than the commercially made ones. This link by Bill Garlinghouse is good, too. I love the simple runner idea. Adds some functionality w/o too much work or money. The runners are only $21 via SkiPulk.com and are easy to install.
EDIT January 2017: Another version. Call it Dirtbagger 2.0 The main difference? Using an expedition sled and the runners.
Nice post! Just got back today from a yurt trip with the family (wife and four young kids). Our large capacity pulk was the only way to make it possible as hiking in snowshoes is as much exertion as our kids can currently take (they can do a pack in the summer, but not yet in the winter). It was great! I have a commercial one and a home-made one. The home-made one uses a Jet Sled Jr., which while wider than the one you mentioned, is very durable, fairly large, pushes off snow well and is available in lots… Read more »
Thanks for the tip. Looks like an interesting sled! May have to look into buying one at some point…
Does the sled jerk a lot with all that slack in the rope?
If you measure it correctly, should not be a lot of slack.
If building this for a pretty small 13 year old, would I need to adjust the lengths at all? Thanks.
I don’t believe so. Most pre-built children sleds have similar measurements. The caveat is I do not have children. You may want to check out an actual children’s backcountry sled to see the difference. Mine is for hauling boxed wine, food and my wife’s gear. 🙂
Hi! That is a great device you came up with. My question is whether it will work, or can be modified to work, on dry terrain. I would like to haul some basic supplies to a cabin in the Shenandoah National Forest. It is located at the bottom of a 1.5 mile-long, moderately steep, and somewhat rocky trail, with no vehicle access. My concern is that the sled will get torn to shreds without the snow reducing the friction. On the other hand, if it is cheap to make, I don’t mind if it only lasts for one or two… Read more »
I don’t think it would work for the rougher area such as you are proposing. Really meant for powdery snow. Cheers!
This was great! On Friday afternoon, 2 hours from being picked up for a weekend at a ski-in State Park cabin, having just found out my friends were all bringing sleds instead of backpacking, I thought, dang I really don’t want to carry such a heavy bag! So I searched the so-useful internet, and found expensive, complicated, skill-heavy designs for pulks. Then I found yours! I ran around finding stuff in the shed and garage, some spare pex long enough for the poles, some spare rope (no idea what size or strength), a couple big beeners, and slapped it all… Read more »
Wow! That’s awesome. Thanks so much for sharing this story. What an endorsement! 🙂
Travois would be better for dry terrain and Rocky conditions then if the supports get to chewed up just cut new ones
I have found scaffold scissors (crosspiece from collapsible painting scaffold sets) to be the best poles they are extremely rigid, bolted at center, and have perfect carabiner holes. Not to mention they can be used as is no cutting just some fitting, and I have found them in junkyards or on c-list for free that’s $0.00. Worth a look!
Cool! Thx for sharing.
I have used a simular setup for years . But i used copper pipe . 2 elbows at sleigh end and joined by a short pce of pipe . Then fasten to sleigh . Attach to a padded waist belt . No slack . Weight is noticable on uphill but not on flats or downhill . I have used it on over a hundred miles of rolling terrain . I have always placed my backpack in sleigh . Just in case my sled jets damaged . But i have never needed it .
Going on season 21 with my homemade pulk. I love these things! My first effort wore out due to my not using grommets or washer reinforcers. Ours has a pack waistband and stainless braided wire with dogline clips and eyelets. I don’t go out winter camping without it. At 64 it lets me carry the spare gear that make things comfortable in the cold. This summer I’m adding runners. Go pulk yourselves! eh
[…] another pack. There are a number of pulk sleds out there, but I’ve had zero issues with this DIY pulk sled. With that being said, I will say the best option, by far, is to just invite someone that has […]